Shanghainese pan fried rice cake 上海炒年糕.
Hello everybody, it's Louise, welcome to my recipe site. Today, we're going to prepare a distinctive dish, shanghainese pan fried rice cake 上海炒年糕. It is one of my favorites food recipes. For mine, I will make it a little bit unique. This is gonna smell and look delicious.
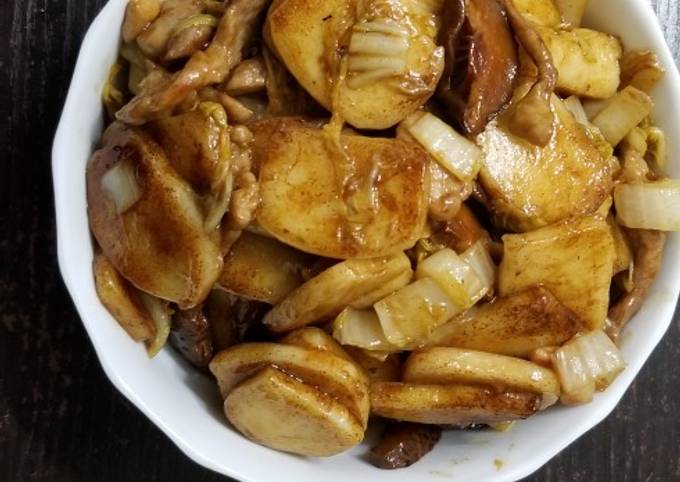
Shanghainese pan fried rice cake 上海炒年糕 is one of the most well liked of recent trending meals on earth. It is easy, it is quick, it tastes yummy. It's enjoyed by millions daily. Shanghainese pan fried rice cake 上海炒年糕 is something that I've loved my whole life. They are fine and they look wonderful.
To begin with this recipe, we must first prepare a few components. You can have shanghainese pan fried rice cake 上海炒年糕 using 9 ingredients and 17 steps. Here is how you can achieve that.
The ingredients needed to make Shanghainese pan fried rice cake 上海炒年糕:
- {Take 1 pack of rice cakes.
- {Prepare of chinese baby cabbage.
- {Get 3 of chinese mushrooms.
- {Take of Oil.
- {Take of Chinese dark & light soya sauce.
- {Make ready 150 g of shredded pork slice.
- {Make ready 1 tsp of corn starch.
- {Get 1 of capful of shaohing wine.
- {Make ready 1/2 tsp of salt.
Instructions to make Shanghainese pan fried rice cake 上海炒年糕:
- Cut pork into shreds (pick cheap lean cuts with less fat since this only cost $10hkd ~ less than $2usd).
- Add 1 tsp light soya sauce, 1/2 of oil and 3/4 tsp of corn starch & shaohing wine. Mix and put it a side. 15 mins marinating (we dont use salt since will make meat tough and chewy).
- Like before soak 30 mins before cutting.
- Pick 3 average size chinese mushrooms.
- Soak in cold water for 1hr or if in a rush like me use boiled hot water and soak for 15mins until soft. (if have time soak in cold water since if hot water mushroom is less tasty).
- Can drain cabbage n cut shreds (throw ends).
- Please remember to cut out the stems. The soaked mushroom water u can save them for udon soup base (just add little salt and chicken powder 1tsp and 150ml water, boiled together) or for other cooking purposes (max. 3 days in fridge).
- Slice mushroom n set aside to drain (if mushrooms hard soak longer).
- This is the rice cake called 年糕 u can buy them anywhere in chinese markets. Make sure pick ones that doesnt have plastic taste coz some brands suxs!.
- Before cooking it make sure u separate them or gonna stick together like mad..
- Mid heat, 1tsp of oil heat pan for a min and then fry pork until 80% then take it out. (just toss and turn them and dont burn :).
- Same pan without washing throw all veg n mushroom in "high" heat 1/2 tsp salt for 2 to 3 mins and take out (refer to my earlier receipe "pan fry baby cabbage" if needed to learn the techiques).
- Wash pan or if lazy like me just wipe it with a cloth or paper towel.
- Mid high heat add at least 2 spoonful of oil then place rice cake in. (please note they will stick together when pan frying so must keep on turn and toss them around) i prefer non stick pans or its gonna be a nightmare 😖 / or u need to add more oil to normal pans.
- After 1 min add 1 spoonful of dark soya sauce. quickly stir them (some might look burnt but dont worry just make sure all covered in sauce).
- Add all pork and veg into the pan and stir for 2~3 mins. Ideal colour of the dish is a mid light brown colour just add little dark soya sauce if needed. Taste rice cake if it is soft then its Done!.
- This dish i used bak choy last time. Traditional uses cabbage only. Besides these two type of veg i would not prefer others since gonna go weird. Enjoy!.
So that's going to wrap it up for this special food shanghainese pan fried rice cake 上海炒年糕 recipe. Thanks so much for your time. I am confident you can make this at home. There is gonna be more interesting food at home recipes coming up. Remember to save this page in your browser, and share it to your family, friends and colleague. Thank you for reading. Go on get cooking!